
Replacing a wall plate (also called a switch plate or outlet cover) is one of the fastest, easiest home upgrades you can make—and it can instantly make a room look cleaner and more finished. In most cases, you can do it in under five minutes with just a screwdriver.
Here’s a simple, step-by-step guide to replacing a wall plate safely and getting a professional-looking result.
What You’ll Need
- A new wall plate (standard, oversized, or jumbo—depending on your needs)
- A screwdriver
- Optional: a level (for perfectionists)
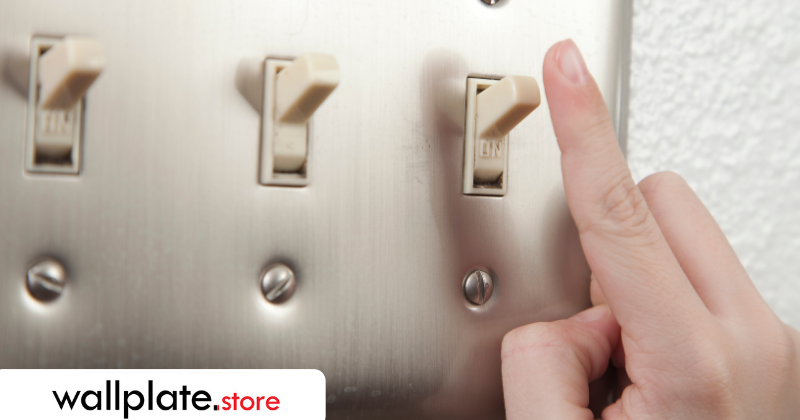
Step 1: Turn Off Power (Recommended)
For basic wall plate changes, many people leave the power on. However, for maximum safety—especially around outlets—it’s best to turn off the circuit at the breaker.
Tip: If you’re only changing the cover and not touching the wiring or device, this is a low-risk task, but safety always comes first.
Step 2: Remove the Old Wall Plate
- Use your screwdriver to loosen the center mounting screw(s).
- Turn slowly to avoid slipping and scratching the wall.
- Set the old plate and screw aside.
If the plate sticks to the wall due to paint buildup, gently wiggle it free—don’t force it.
Step 3: Check the Wall & Device Alignment
Before installing the new plate, take a quick look:
- Is the switch or outlet straight?
- Are there paint marks or drywall imperfections showing?
If you see damage or gaps: this is a great time to consider an oversized or jumbo wall plate for better coverage and a cleaner finish.
Step 4: Position the New Wall Plate
- Place the new wall plate over the device.
- Line up the screw hole(s) carefully.
- Insert the screw by hand first to avoid cross-threading.
Pro tip: If the plate looks slightly crooked, gently rotate it before tightening fully.
Step 5: Tighten the Screw (Don’t Overdo It)
Turn the screw until the plate sits flush against the wall.
- ✔ Snug and flush is perfect
- ✘ Over-tightening can crack plastic plates or warp metal ones
If you’re using metal wall plates, a firm but gentle finish gives the best result.
That’s It — You’re Done
Step back and admire the upgrade. A fresh wall plate can make switches and outlets look brand new, even if the devices themselves haven’t changed.
Total time: 2–5 minutes.
Common Mistakes to Avoid
- Over-tightening screws: This is the #1 cause of cracked plates.
- Mismatched screws: Use the correct finish and head style for a clean look.
- Ignoring wall damage: If paint or drywall shows, go oversized instead of forcing a standard plate.
- Crooked installs: A quick adjustment before tightening makes all the difference.
When to Upgrade Instead of Replace
Consider upgrading your wall plate if:
- Your current plate is cracked, yellowed, or warped
- You want a more durable option (metal vs plastic)
- You’re covering wall marks from painting or remodeling
- You want a cleaner, more finished look
Metal wall plates, stainless steel finishes, and oversized options are especially popular upgrades because they last longer and hide imperfections better.
Quick FAQ
Do I need an electrician to replace a wall plate?
No. Replacing a wall plate does not involve wiring and is considered a simple DIY task.
Can I replace wall plates without turning off power?
Many people do, but turning off power is always the safest option—especially around outlets.
Why doesn’t my wall plate sit flat?
This is usually caused by uneven drywall, device misalignment, or overtightened screws. Loosen slightly, realign, and retighten gently.
Should I use standard or oversized wall plates?
If you see paint marks, gaps, or uneven cuts around the box, oversized or jumbo wall plates provide better coverage. Oversized wall plates can also be used as a design statement.
Final Tip
If you’re refreshing a room, replace all wall plates at once. Consistent size, finish, and screw style makes the space feel intentional and professionally finished—even though it only took minutes.